Wall Printer Consumables and Maintenance Ink, Care and Parts for Your Machine
Ink, care liquids, coating and replacement parts for the GP200, GP200B, UP200 and UP200P, with the daily, idle-time and on-site care that keeps the printheads firing.
WallPrintJet is a MAXWAVE brand for wall printing machines: every item here comes off the same production line that built and tested your machine. For owners already printing, and for distributors keeping their customers' machines supplied.
An ink set and both care liquids ship with every machine
Replacement videos for I1600 and DX10 printheads
SGS test report on our black UV ink, MSDS on request
Daily, weekly and idle-time care, step by step
The range
Wall Printer Consumables and Wear Parts for All Four Series
Every item is matched to four details of your machine: the series, the printhead type and count, the ink setup and the base. Tap a group to see where it sits on the list, or an item to jump to it.
Wall printer consumables and wear parts, what each does, what decides the version, and how it is supplied
Reordered as you use itReplaced at the end of its working life or after damage
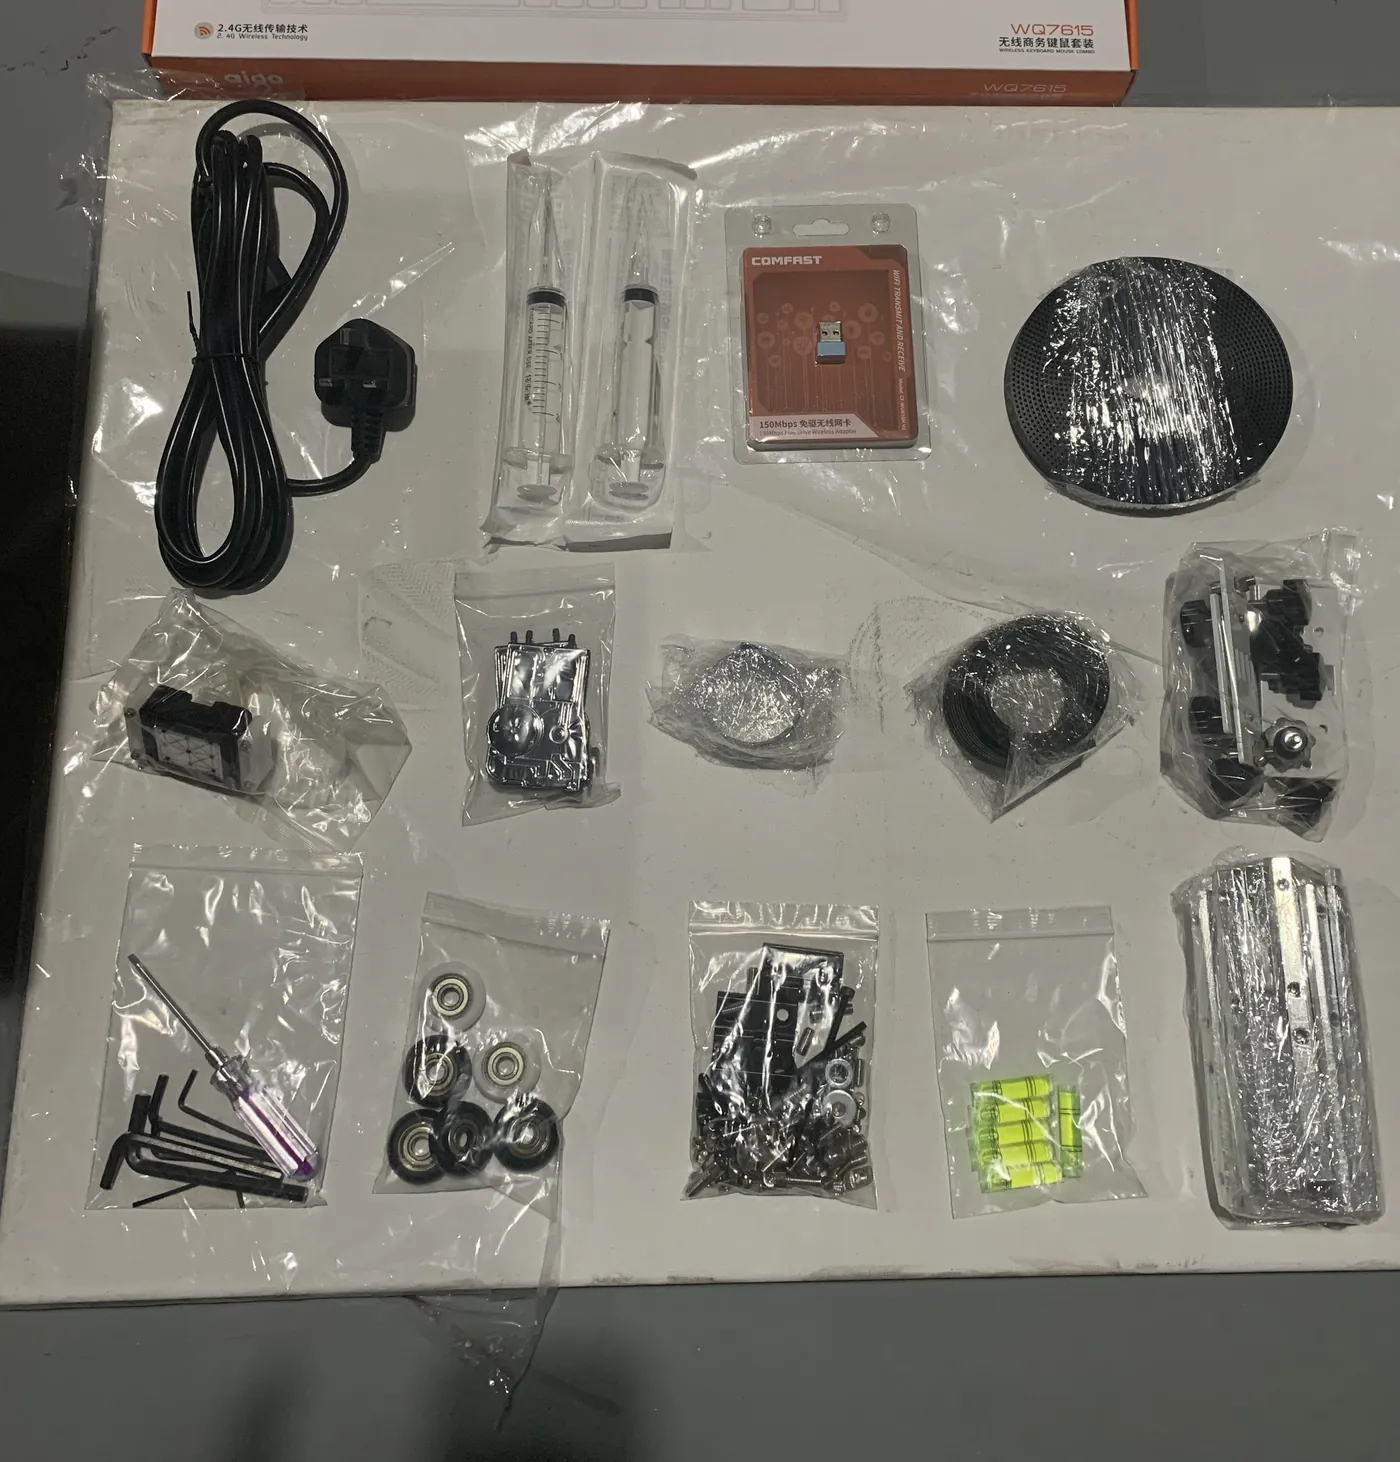
What ships in one machine box. This page covers what you order afterwards.
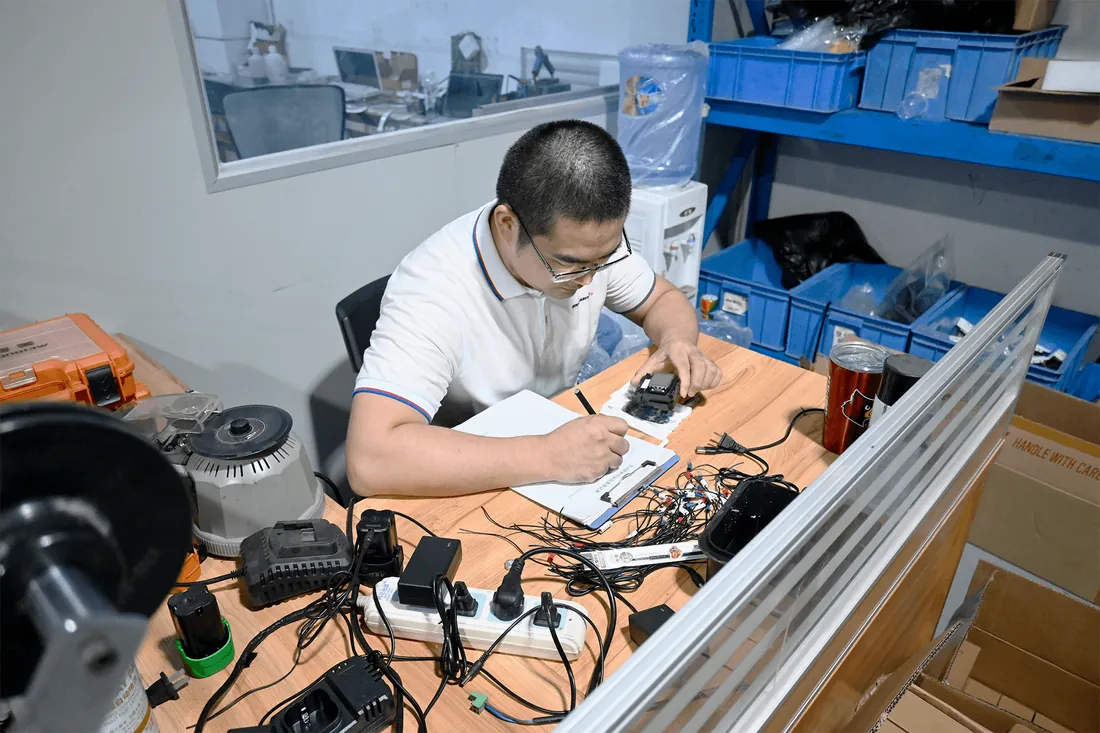
Parts are checked at the bench in the workshop that assembles the machines.
Wall UV ink
Wall UV Ink: Channels, Use and Storage
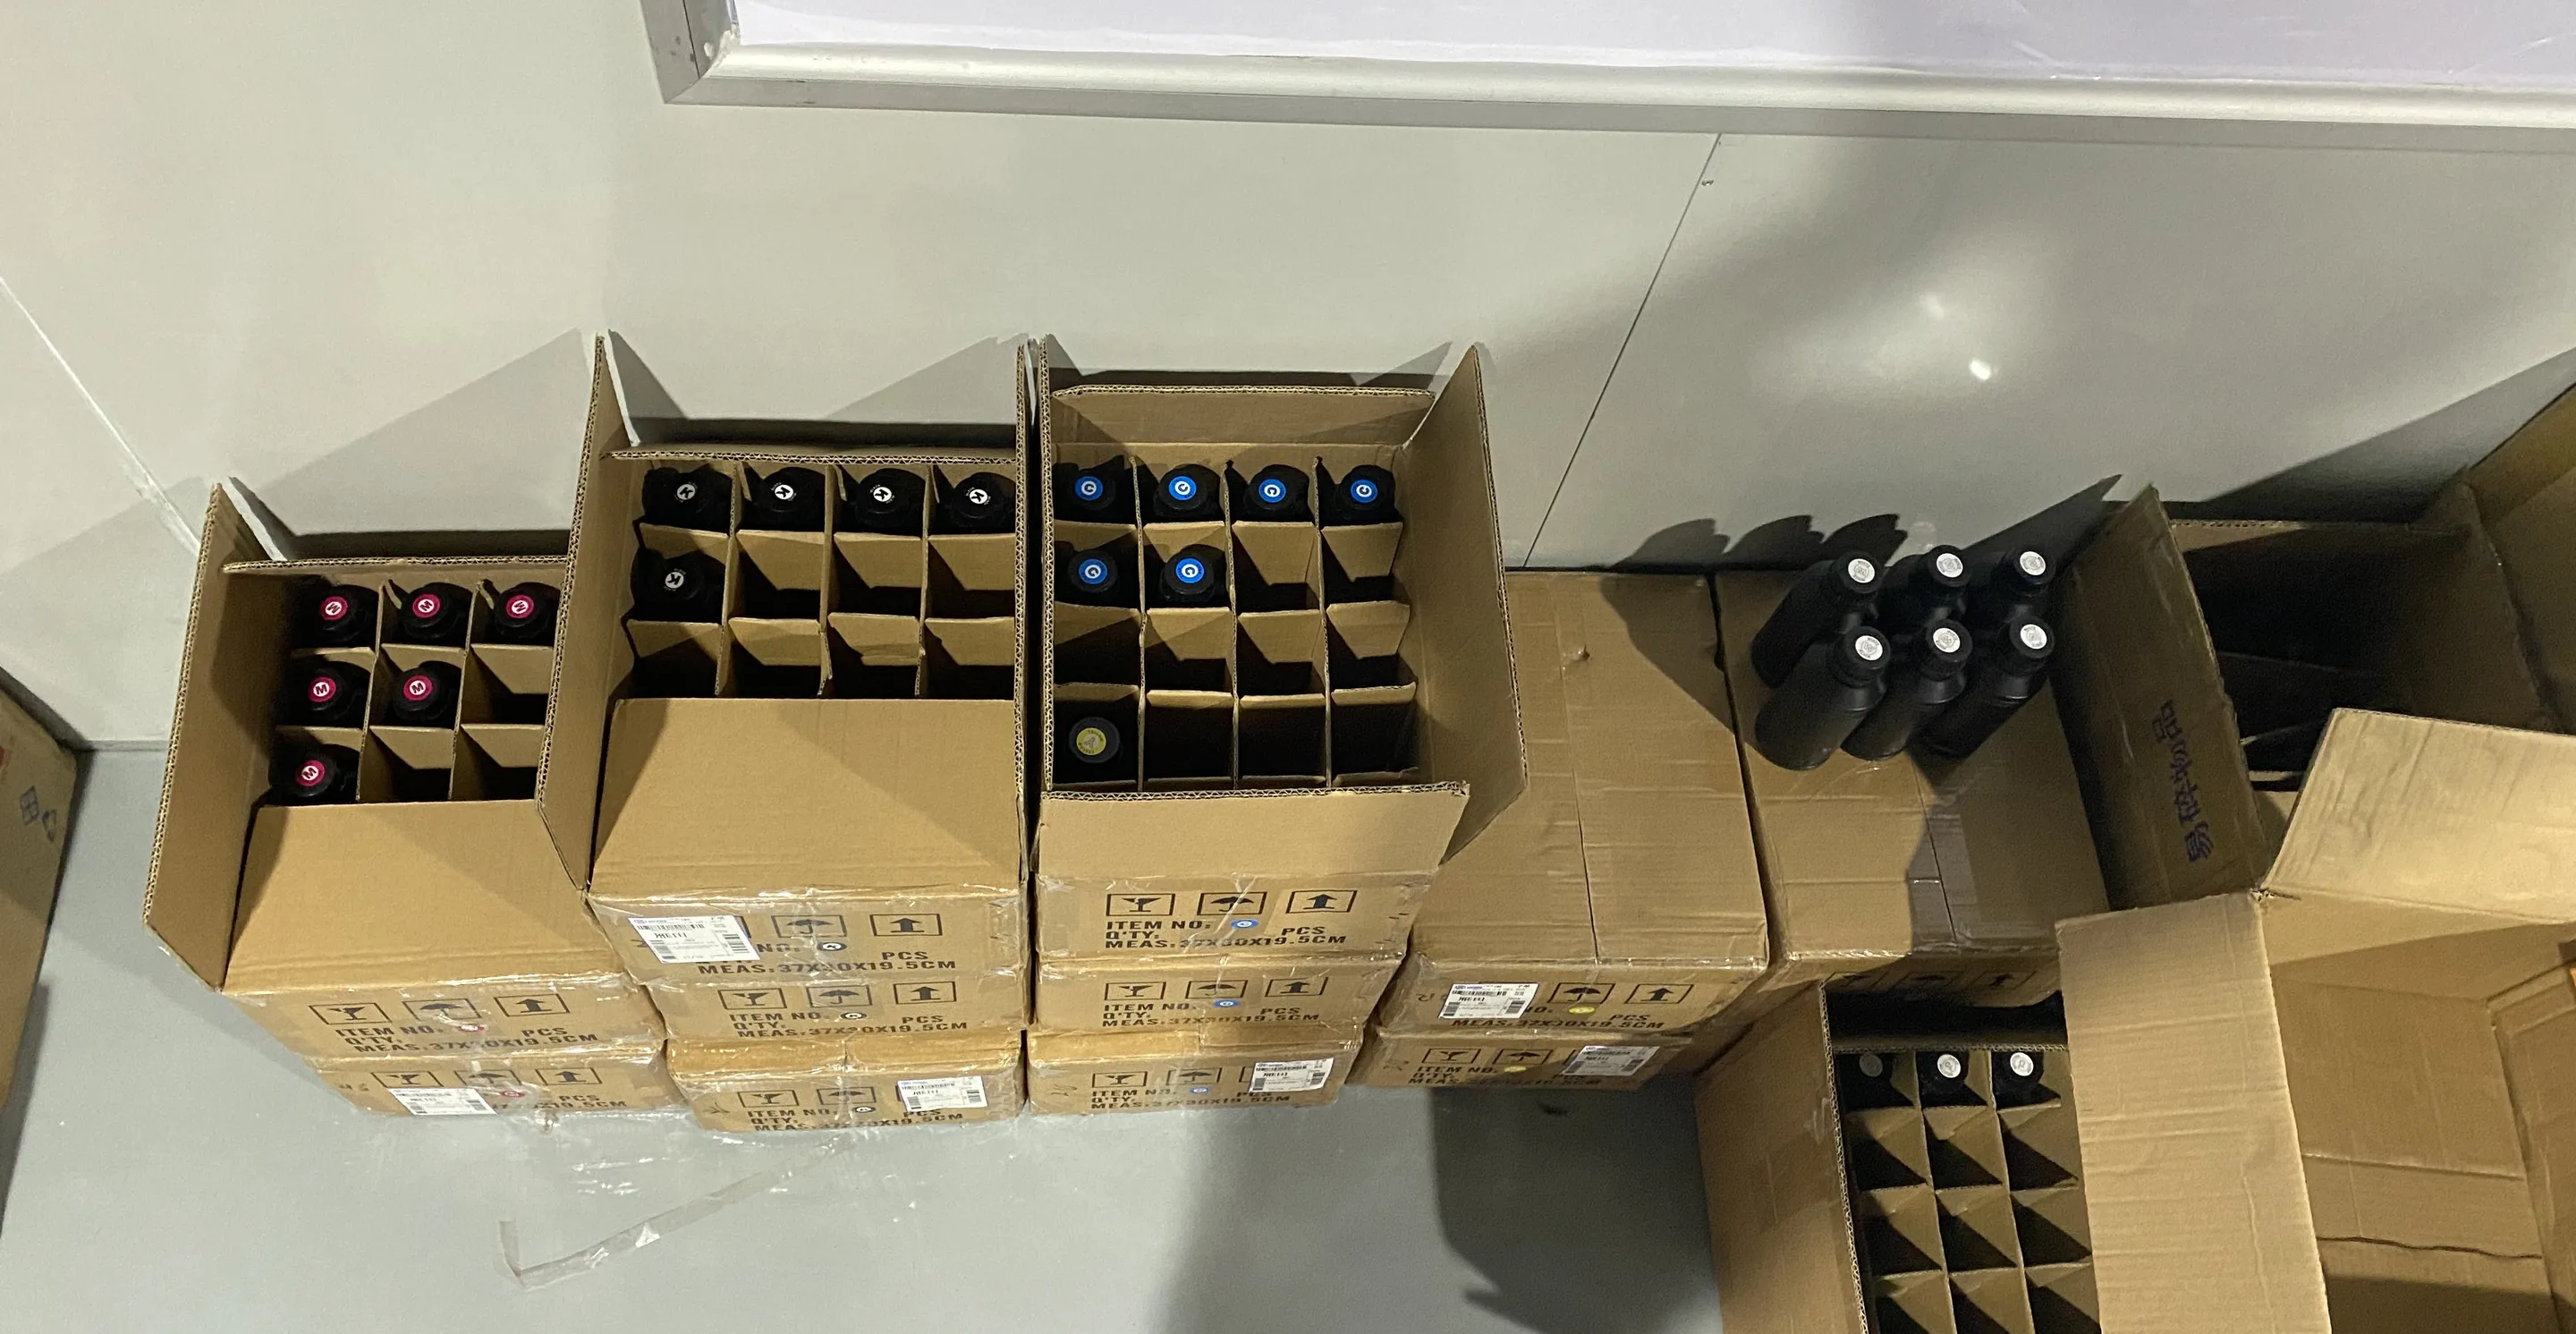
The ink setup, CMYK or CMYK + W, is chosen with the machine, and a machine carries up to 7 ink colours depending on its configuration. Ink is reordered channel by channel, following the colours you use most.
CMYK+ W
CMYK prints the image directly. The white channel lays an underbase for dark walls and glass; on CMYK + W machines, reorder white together with the colours so the underbase stays on the same factory ICC curves as everything printed over it.
3.0 pl droplets, dry on the pass
The LED UV lamp on the carriage cures the ink as it prints, so each pass is dry as the carriage moves on. The cured finish is water- and UV-resistant.
Low-ink alarm and white ink stirring
A low-ink alarm warns you before a colour runs out, so you top up between passes and no band is left half printed. On white-ink setups the machine stirs the white so it does not settle in the supply.
Steady flow all day
The printhead is heated on the GP200, GP200B and UP200P and held at a constant temperature on the UP200, so ink leaves the nozzles at a steady rate from the first wall to the last.
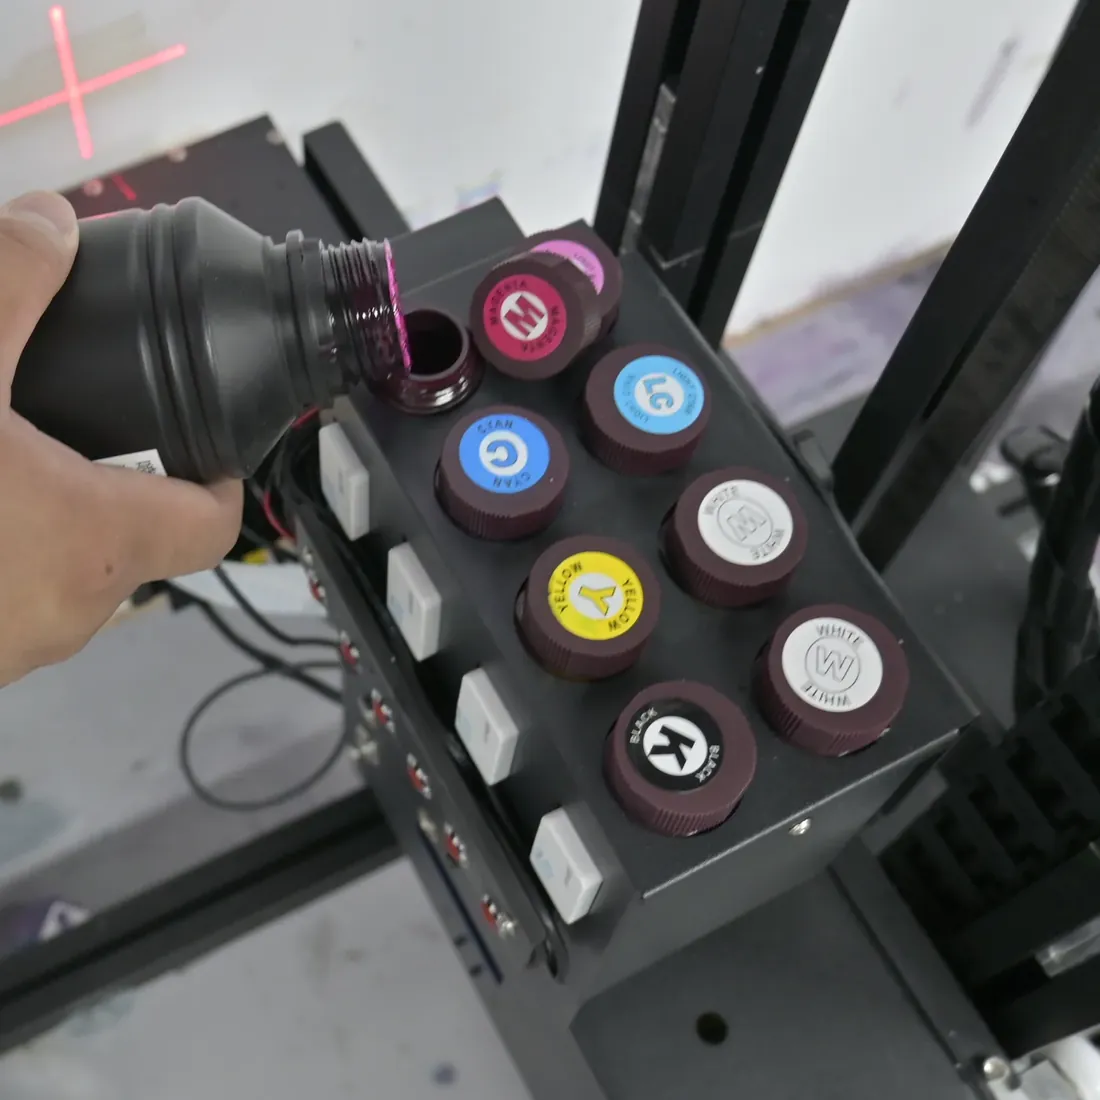
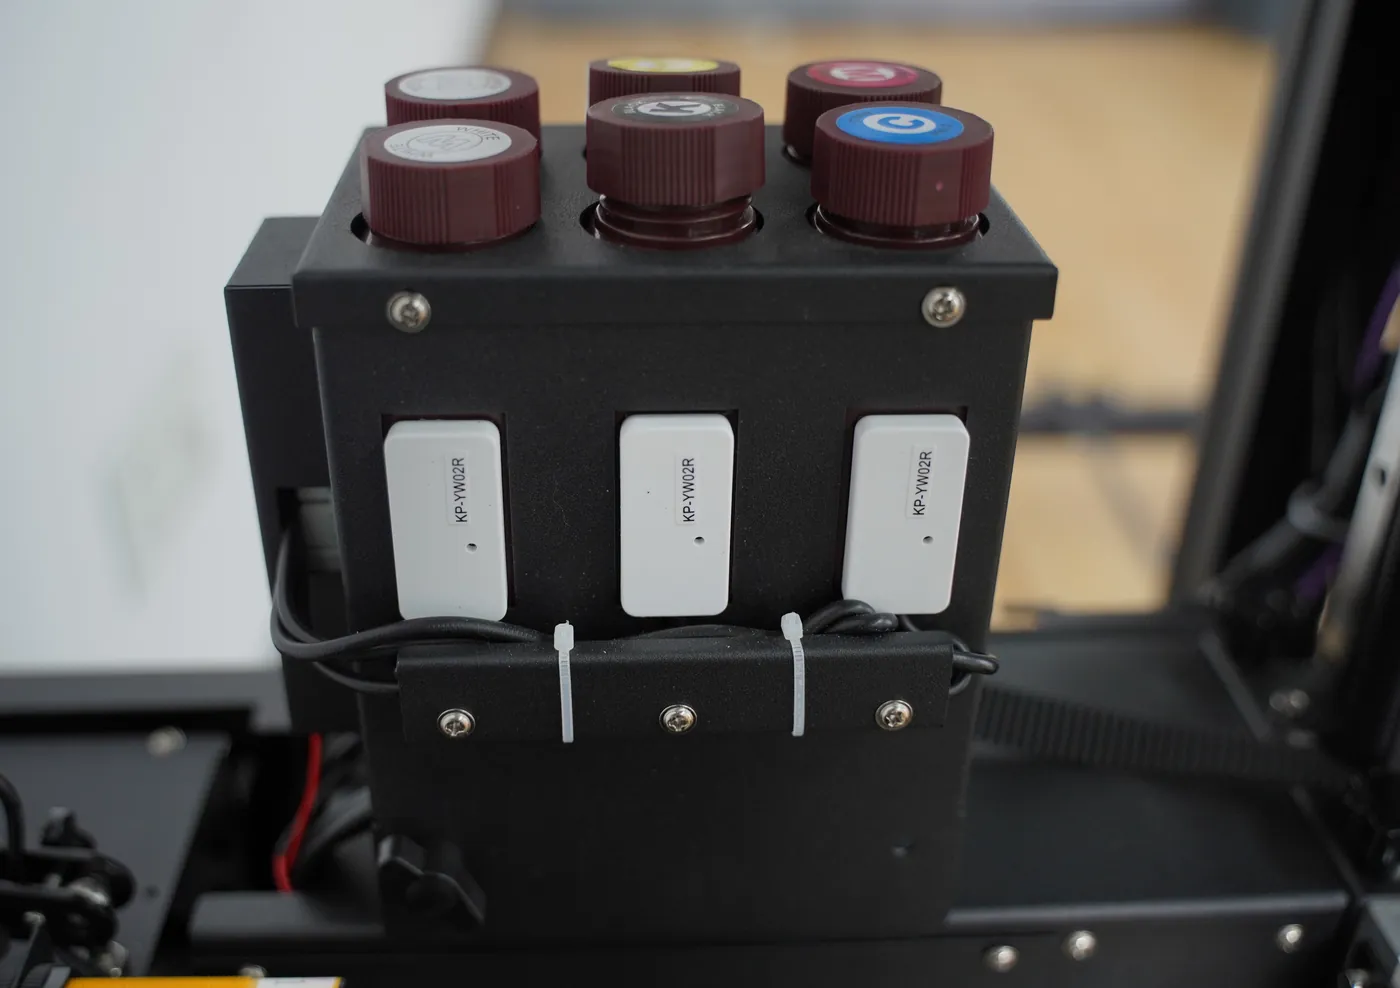
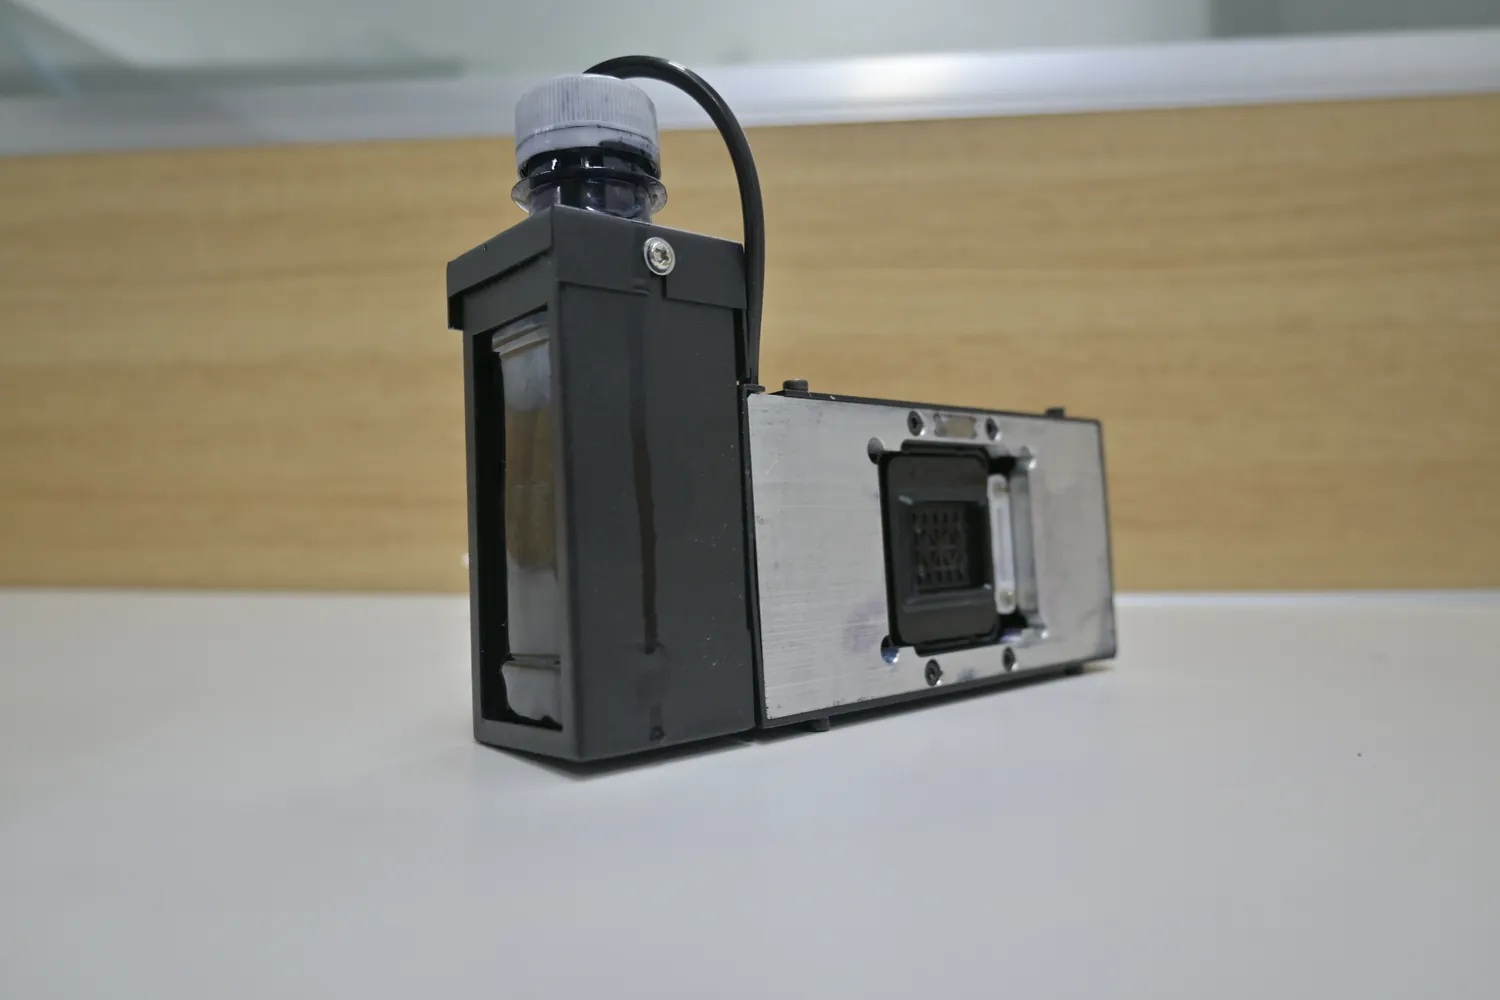
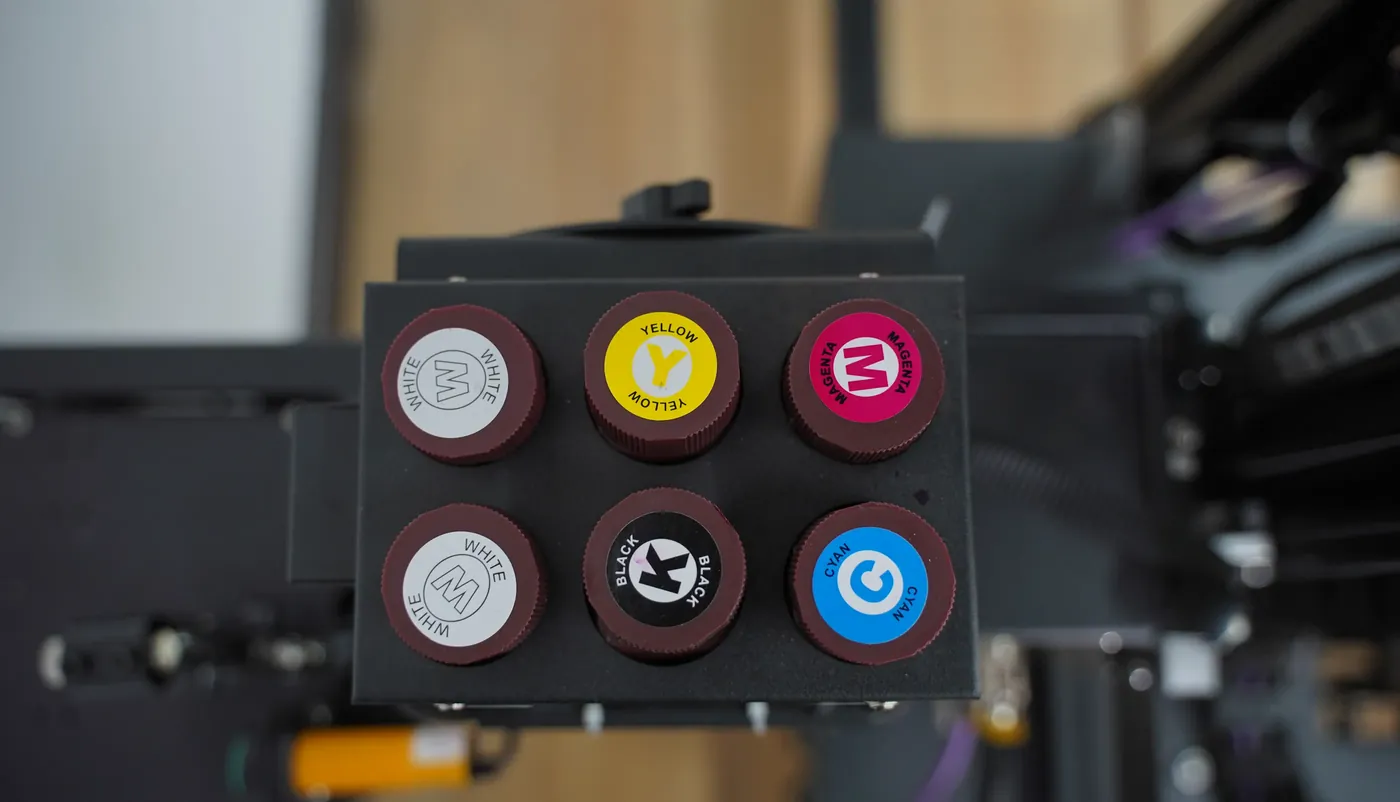
Topping up the ink tanks on a GP200B carriage.
The white parts on the tanks are the low-ink alarm.
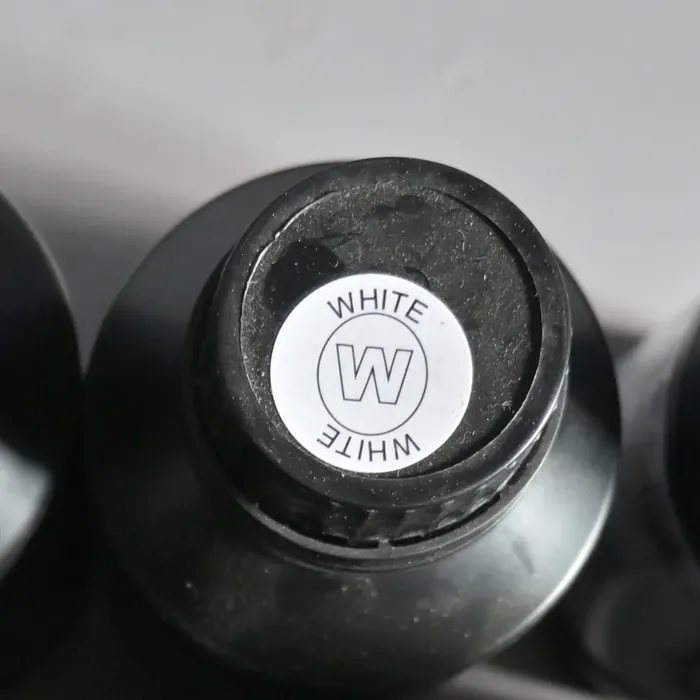
White ink for CMYK + W setups.
Ink use per square metre
about 2 mlof ink per m², standard mode, CMYK
Standard CMYK
The baseline, on a light wall. Tell us the walls you print most and the colour split on your ink order follows them.
White underbase
A dark wall takes white first, then colour, so it uses more.
Full coverage
Edge-to-edge artwork with no bare wall uses more again.
Storage and the documents behind the ink
Wall UV ink · storageFrom the MSDS
Dry and ventilatedNormal room temperature, in a dry, ventilated place.
Cool, dark, out of lightUV ink cures under light, so it waits somewhere cool and dark.
Capped, every timeKeep each container closed; cap a bottle the moment a tank is filled.
Away from fire, heat and acidsKept apart from acids and organic acid compounds.
Handling on site
Work with ventilation, keep sparks, flames and hot objects away, and do not smoke near the ink. Wear gloves when filling tanks. Waste ink drawn out with the suction tools is not reused; dispose of it under your local regulations, as the MSDS describes.
SGS test reportGZHL2303007145OTOur black UV ink, tested against EU RoHS substance limits; the listed substances were not detected.
MSDSEpson UV ink, in EnglishStorage, handling and disposal of the ink.
The papers that get a job signed off
A hotel, a school or a shop fit-out team may ask what is being sprayed onto its walls before it signs the job. Both documents are sent with your ink order on request, and the client's facilities team files them with the job.
Care Liquids for the Printheads and Coating for Smooth Surfaces
The two care liquids keep the nozzles firing between jobs. Both ship with every machine and run down with every stop and every clean, so they go on the same order as your ink, with coating added when you print glass, tile or metal.
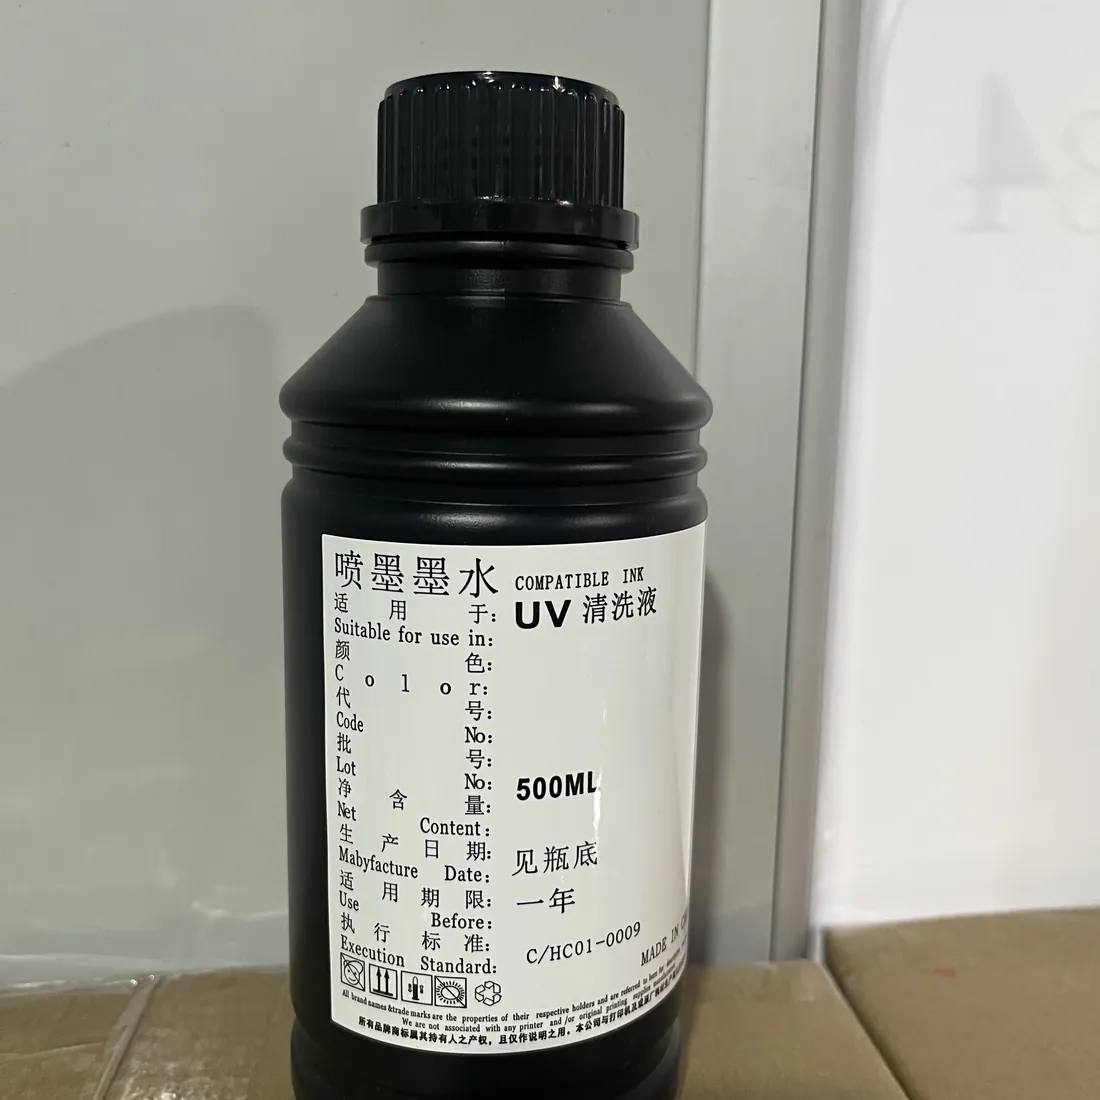
Cleaning liquid, one of the two care liquids in the box.
Moisturising liquid
Keeps the printheads moist while the machine stands, and is injected after a flush before a longer stop.Used every time the machine stands
Cleaning liquid
Flushes ink out of the printheads and wets the tissue under the protection cover. The UP200 also cleans its printheads automatically, which suits a machine on one large site for several days.Used every time the machine is cleaned
The printhead setup sets the liquids
The printhead type and the number fitted decide which liquids go on your list and how fast you go through them. A dual-printhead GP200 or UP200P uses the liquids on two printheads at once.
Single printheadDual printhead
Coating for glass, tile, metal and other smooth surfaces
Printed directly
Painted wall
Plaster
Painted walls, brick and textured plaster take the ink with no coat.
Coat first, then print
Glass
Metal
Shop windows, glass partitions, tiled kitchen and bathroom walls, ceramic panels, metal doors, lift surrounds and cabinets. Wiped on before printing, the coating improves ink adhesion; on glass and dark smooth surfaces it pairs with a CMYK + W setup.
Not in the standard boxCoating is added when your quotation lists glass or other smooth surfaces, then reordered with your ink.
Clean the surface
Dust and grease off the area the image will cover.
Wipe the coating
Over the whole image area, with the coating matched to that material.
Print over it
On glass and dark surfaces the white underbase goes down before the colour.
Sample patch first
Results depend on the material and its preparation, so on a new material coat and print a patch before the client's wall; send photos and an engineer checks it with you online.
Not sure which part
One Photo of the Part Starts the List
Photograph it where it sits on the machine and add your series. An after-sales engineer identifies it with you.
Three routines keep the machine printing: the end-of-day care that lets it print the next morning without a cleaning session, the care that depends on how long it stands idle, and a short mechanical check at every new site.
Daily and weekly printhead care
End of each day
Wipe, cap, cover
Wipe the printhead face with a wettable tissue, left to right along the printhead, never top to bottom.
DX10: the electric suction unit fits over the printhead and keeps it moist.
DX7, I1600, I3200: moisturise by hand, as in the video.
Refit the cover; switch off printer and computer.
Next morning
Test before the first wall
Print the test lines.
Prime a broken line again with the suction tool until the syringe runs without air.
Left to rightNot top to bottom
Once a week
Longer clean, ink check
Tissue over the protection cover, drip UV cleaning liquid where it meets each printhead, fasten the cover so the wet tissue rests on the nozzles.
Change tissue and liquid every 5 to 7 days; run the cleaning video for your printhead.
Top up every tank from the matching bottle; check every cap is still loose, since a tightened cap stops the ink reaching the printhead.
When the machine stands idle
Between jobs, a machine can stand for days or weeks. The care depends on how long.
MoisturiseFlush, then moisturiseAsk us
day 1 – 10day 11 – 25longer
1 to 10 days
Keep the printheads moist as in the daily routine, following the moisturising video.
11 to 25 days
Flush the ink out with cleaning liquid, then inject moisturising liquid. An engineer can stay online the first time.
Longer
Send your series, printhead type and how long it will stand; the engineer gives you the steps.
Back to work: prime with the suction tool and print the test lines before any wall. Travelling between sites while idle: keep the cover on and pack as your manual shows.
12345
Checks at every new site
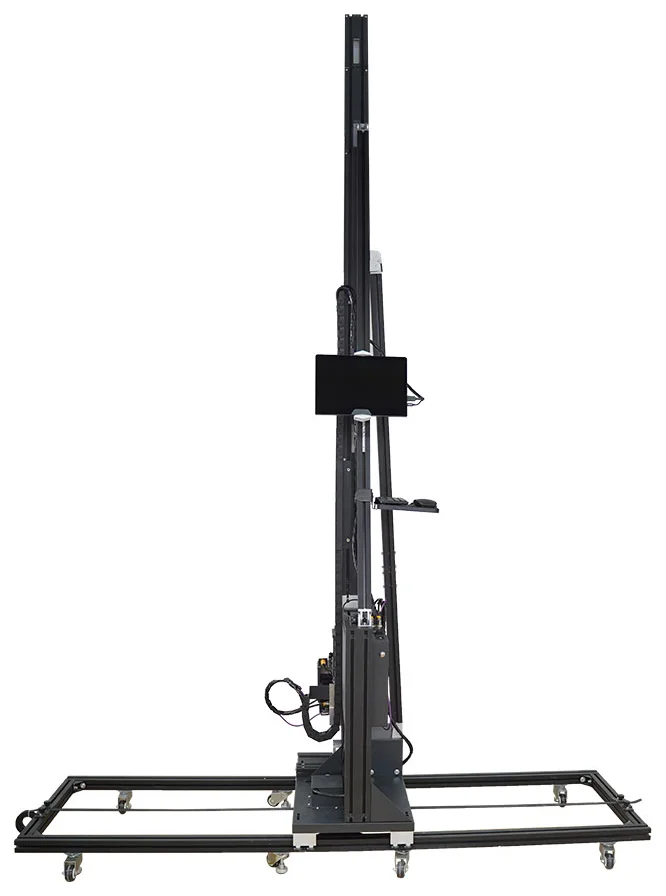
Wheels and column
Push gently on the column and print unit; look for looseness or shaking at the wheels and column joints. Tighten any loose screw.
Rails and belt
Slide the machine the full rail length by hand. Check fixing strips and screws at each joint, and that the belt is tight and still the right way up.
Level and distance
Repeat the wall setup from installation Step 7: level rail, column within 5 mm, printhead at 3 mm or less.
Cables
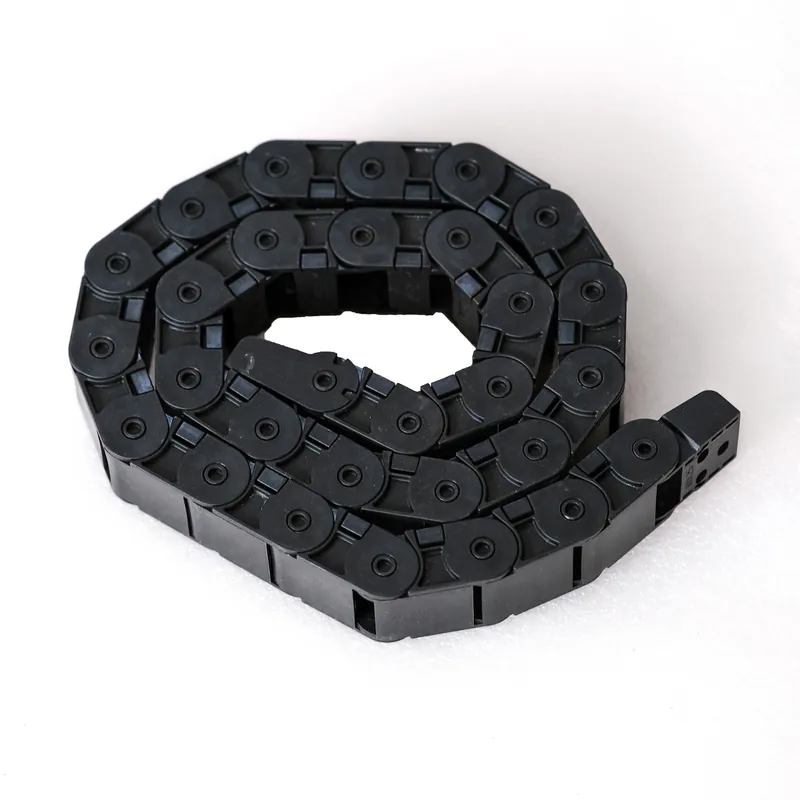
Look along the drag chain and at the aviation plugs; pull only on the metal plug body when you unplug for transport.
UV lamp
Keep the lamp face clear of cured ink; lift any build-up off carefully with a blade. When prints stay tacky on a clean lamp, see UV lamp replacement.
Something you cannot fix? Photograph it and send it to the engineer. Symptoms, causes and fixes for print problems are on our Wall Printer Troubleshooting page.
Along the ink path
Ink Dampers, Ink Tubes and Suction Tools
Ink runs from the tanks through the tubes and the dampers to the printheads, and a suction tool draws it through after any change. Dampers, tubes and both suction tools ship with every machine and are supplied afterwards as replacement parts.
Ink tanks
One tank per colour on the carriage. Its cap stays loose while printing.
Ink tubes
Travel with the print unit. Matched to series and ink setup.
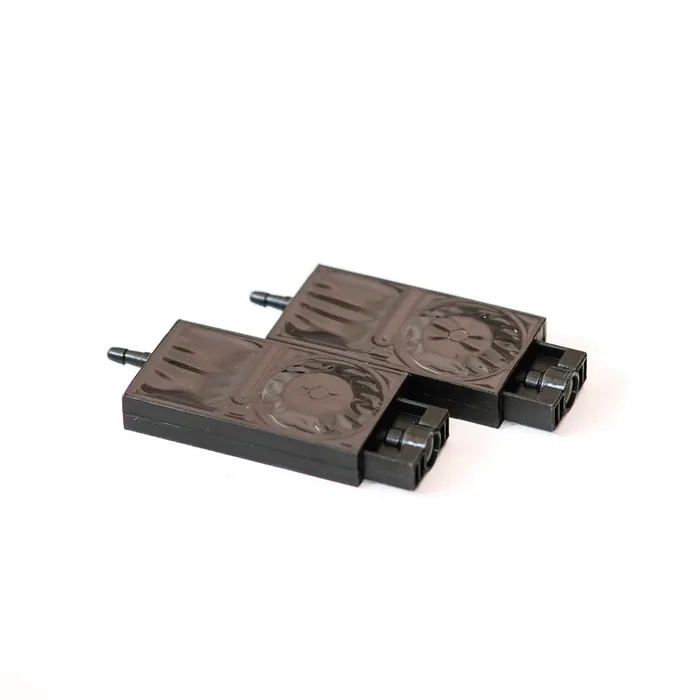
Ink dampers
One per colour, feeding its printhead channel. Matched to ink setup.
Printhead
Where the ink leaves the machine as 3.0 pl droplets.
Ink dampers
Replaced when one wears or fails. The usual sign: one colour cutting out again and again while the others print.
Ink tubes
Replaced when kinked, cracked or stained from a leak.
Electric ink suction unit
DX10
Draws ink through DX10 printheads and caps them, so they stay moist. Reorder when the seal no longer closes on the printhead.
Manual ink suction tool
DX7I1600I3200
Draws ink by hand and seals on the magnetic fixing points of the printhead; on the I1600 the air bleeds in one pass. Reorder when the seal or the syringe is worn.
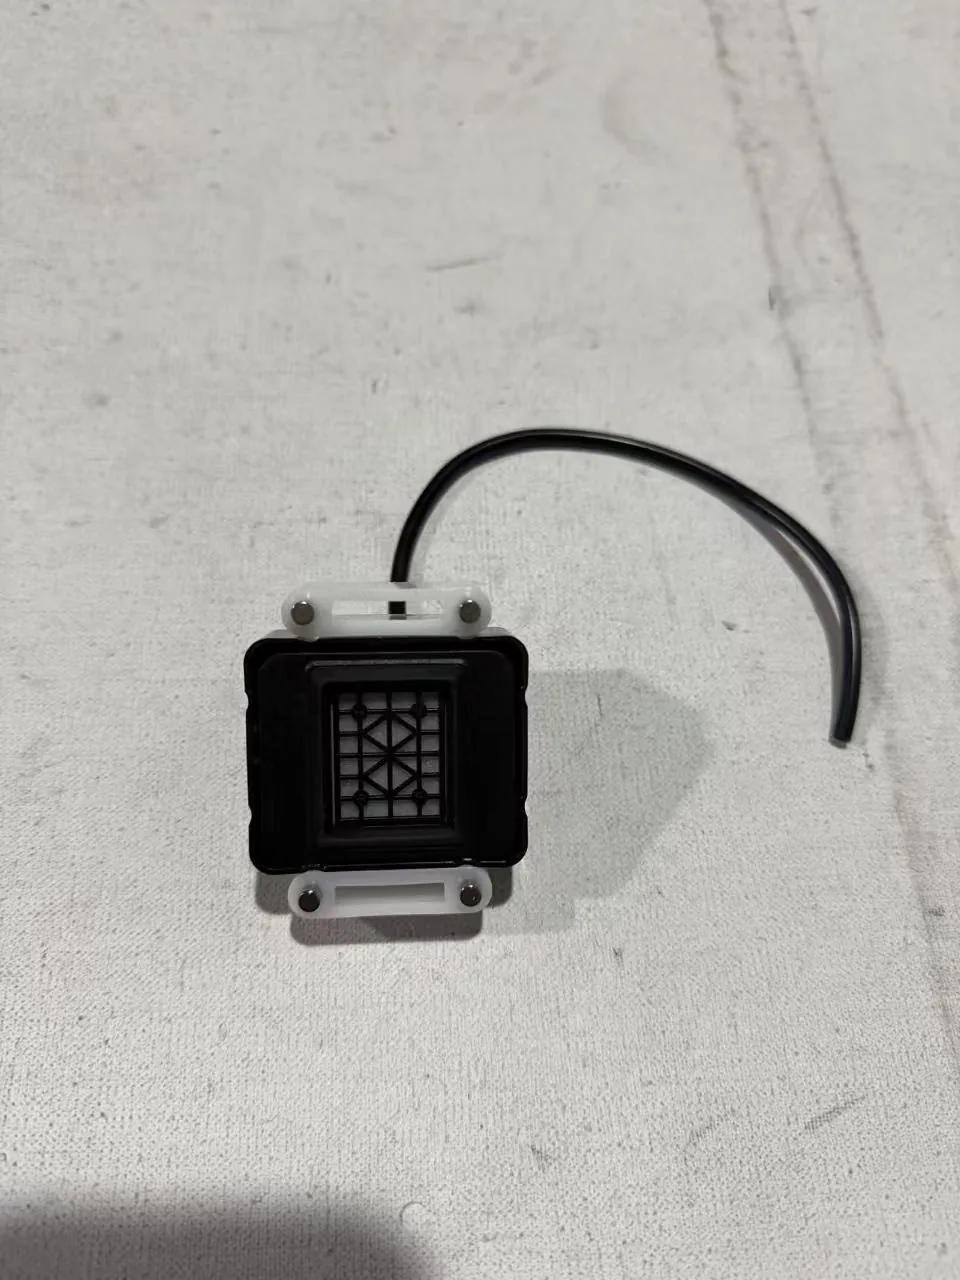
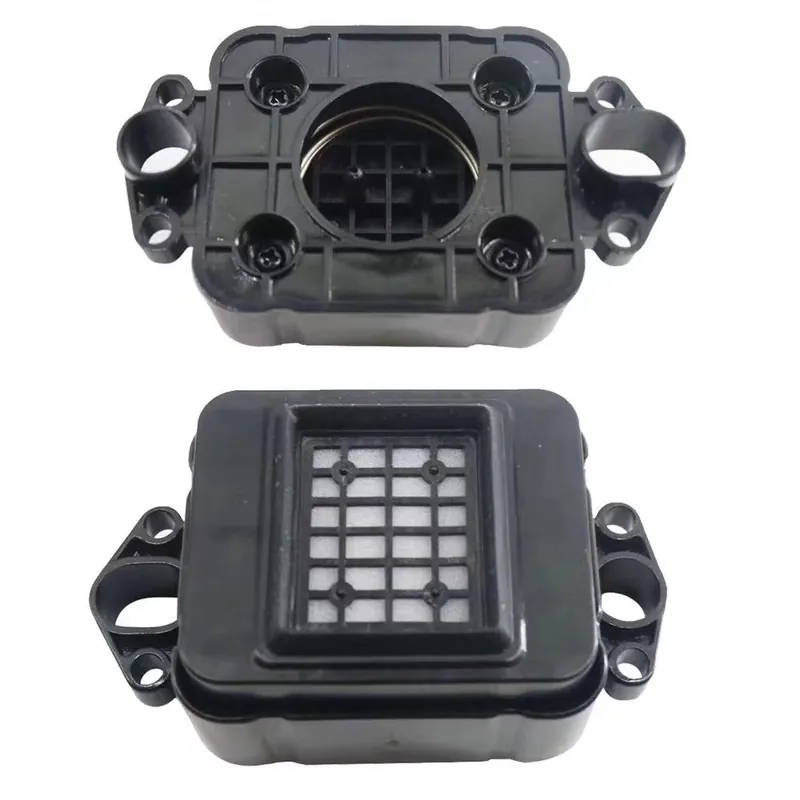
Suction caps and pads
Supplied as parts. Send a photo of the one you use, and it is matched.
Changing a damper or a tube
Close the tank cap for that colourAs the manual does before the print unit comes off, so ink does not run out of the open line.
Gloves on, paper towel under the joint
Change the damper or tube for the same colour
Loosen the tank cap againWith the cap tightened, ink cannot flow to the printhead.
Prime with the suction toolUntil the syringe draws ink without air.
Print the test linesA complete set of lines for that colour confirms the change.
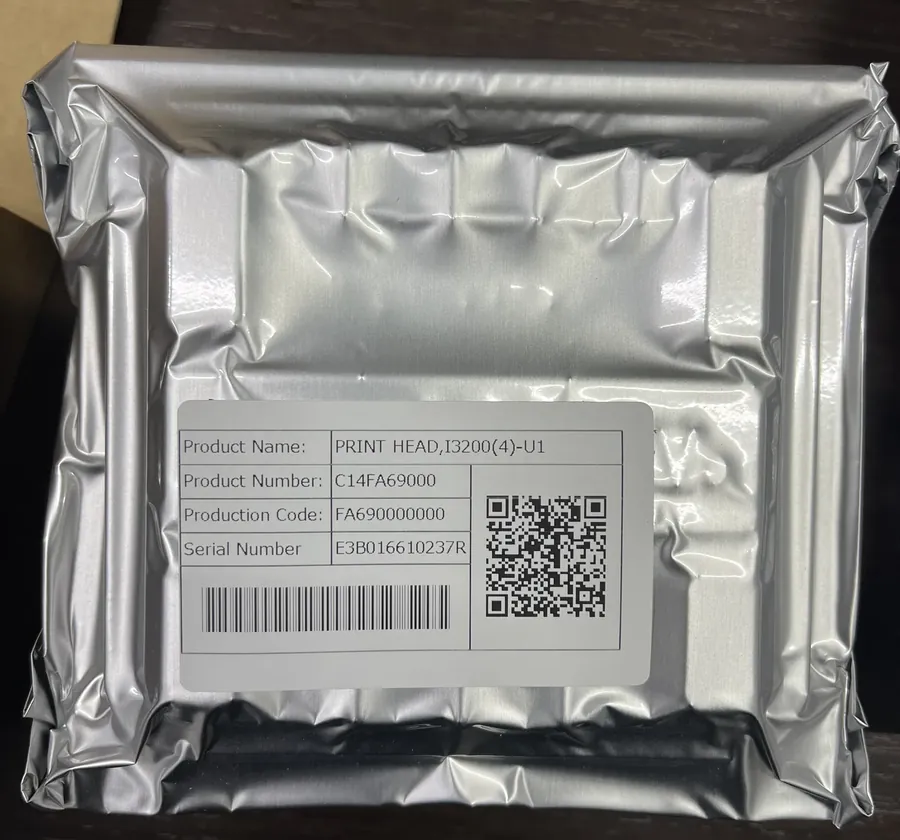
Same type as fitted. A replacement printhead is the same type your machine was built with, so the software settings, the colour curves and the test pattern stay the same. It is due when its test lines stay broken after priming and cleaning, or after damage; send a photo of the test pattern first and an engineer confirms it with you before you order.
DX10 = TX800A TX800 on an invoice, a box or a screen means the DX10.
Nozzles per printhead, and what follows from it
I16001600
DX71440
DX101080
Faster, longer life, fewer clogsShorter life, less tolerant of cleaning
On a DX10 machine under heavy weekly work, printheads are replaced more often than on an I1600 machine, so a spare DX10 on the shelf keeps a job moving.
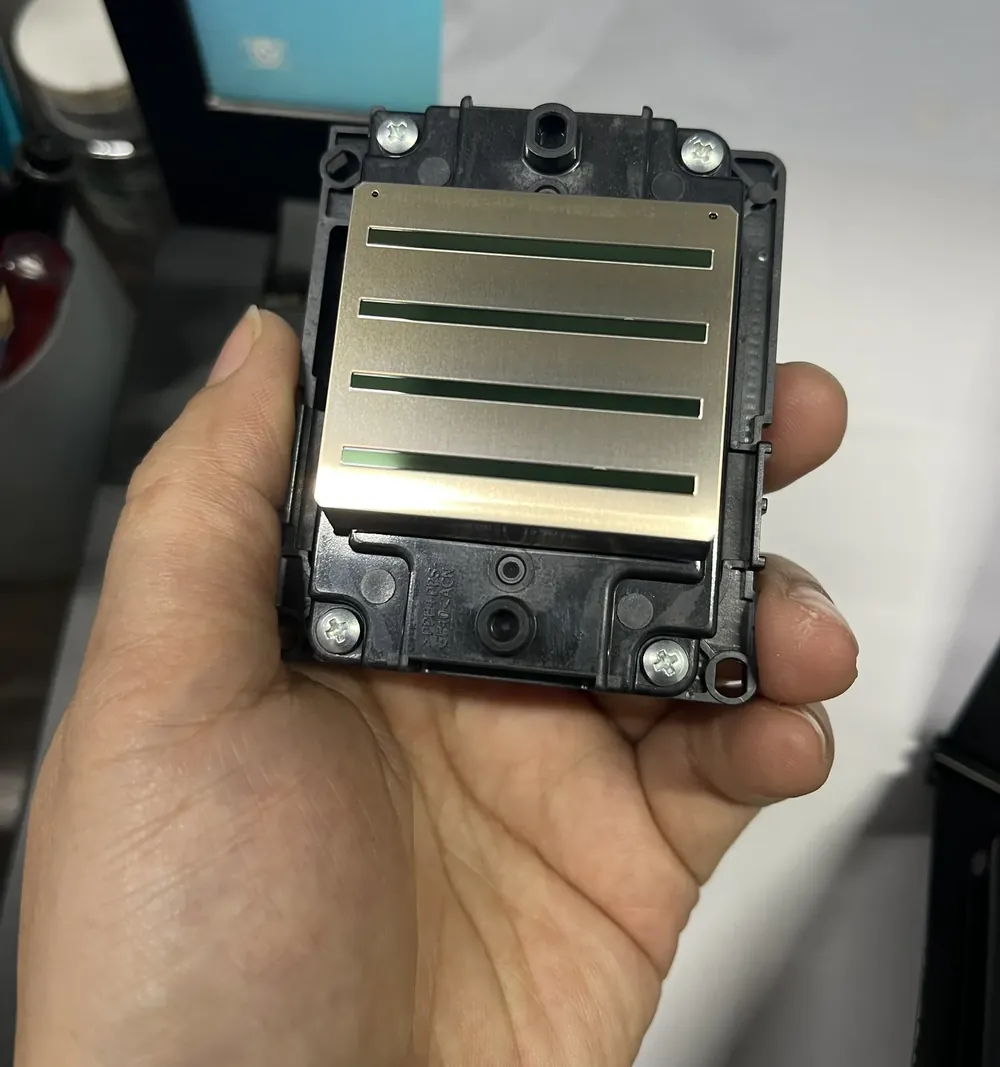
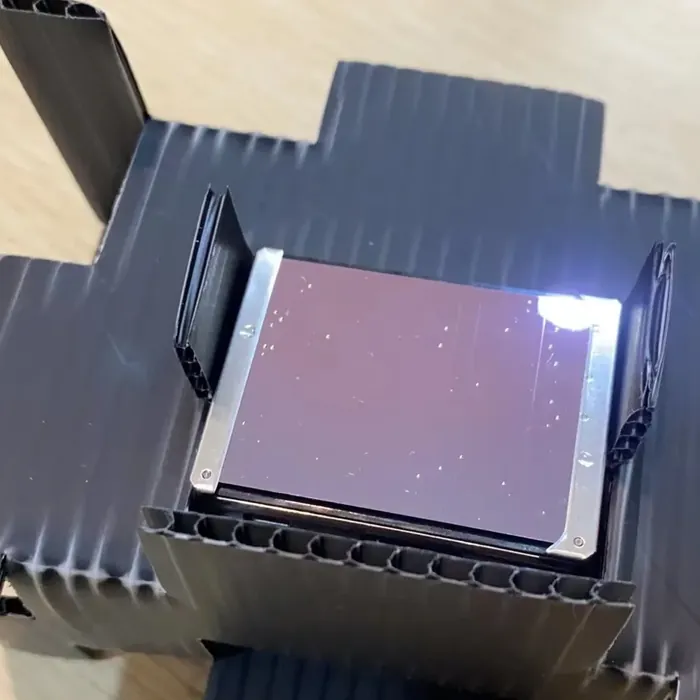
I3200-U1, nozzle plate up.
DX7 nozzle plate.
Arrives sealed; open it at the bench.
What to tell us
The series and the printhead type.
On dual-printhead machines: one printhead or both.
On CMYK + W machines: the colour printhead or the white one.
A photo of the label on the old printhead settles any doubt.
Have the printhead on the benchOrdered to your series and printhead setup, before you start.
Watch the video onceFor your printhead type, before touching the machine.
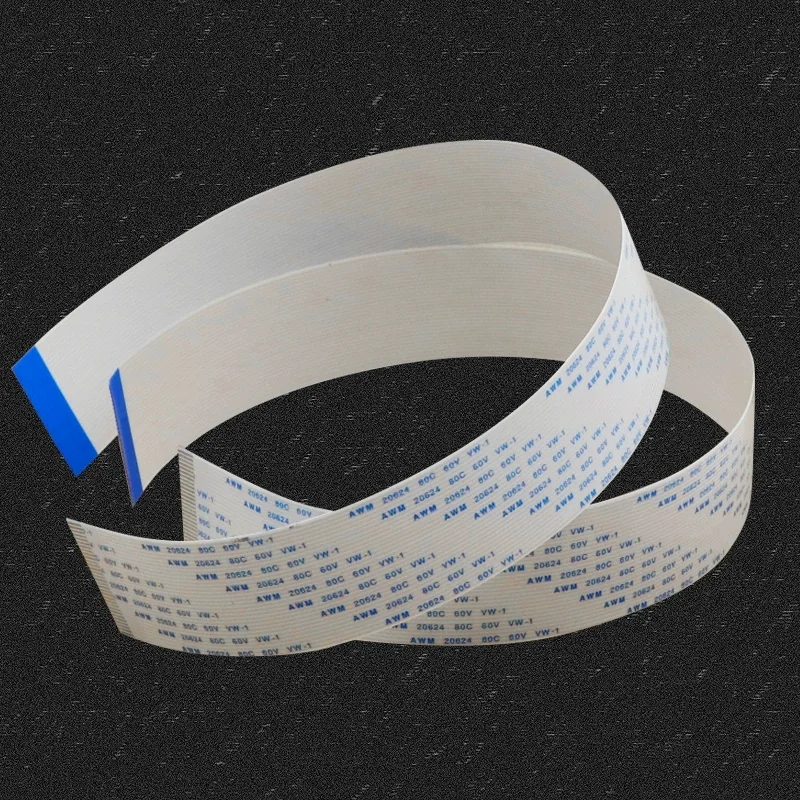
Switch off and photograph the cablesWhere the ribbon cables enter the old printhead, so their order and orientation are on record.
Swap the printheadRemove the old one as the video shows; fit the new one in the same position.
Ribbon cables: same order, same way roundMatch your photo. A cable in the wrong slot or turned over stops the printhead from firing correctly.The step MAXWAVE marks for attention
Prime until ink runs without airWith the suction tool.
Print the test linesEvery line in the pattern for your printhead type should be complete.
CMYK + W: print the calibration patternCheck that colour and white overlap.
Send the photos on WhatsAppTest lines and fitted cables. The engineer checks them with you and stays on the thread while you print the first wall.
These parts wear with hours of curing, travel along the rails and knocks between sites. After replacing any of them, print the test lines and a short test on the wall, then send a photo and a clip of the carriage running to the engineer.
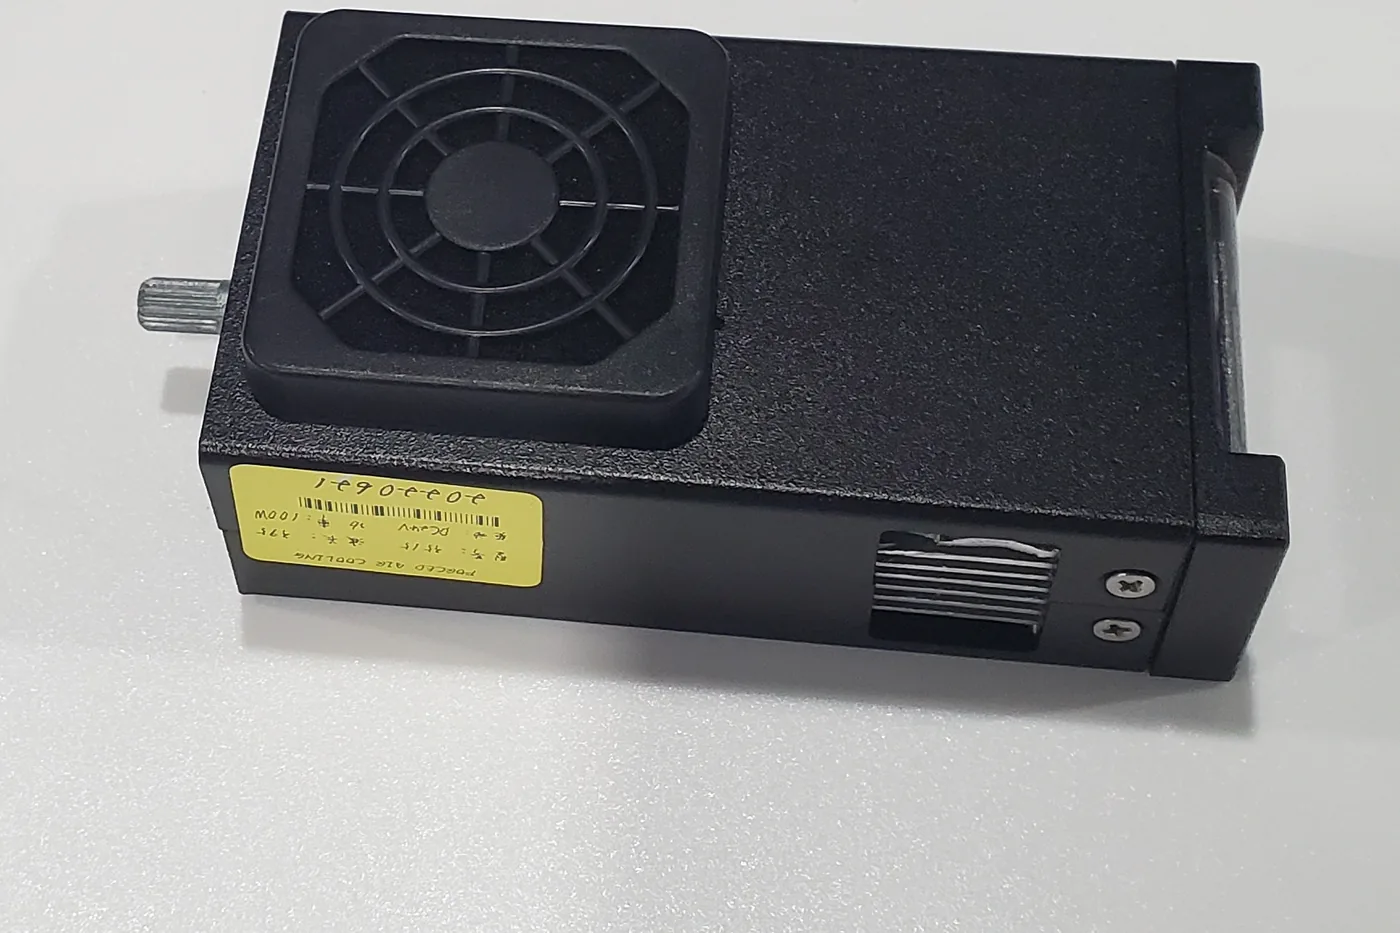
The LED UV lamp unit: fan on top, connector at the side, brightness knob on the back.
UV lamp: replaced when curing power falls
The lamp's power falls with long use, and when it falls far enough the ink no longer cures fully as the carriage passes.
Check 1
Lamp face clean?
Cured ink built up on the face blocks the light.
Check 2
Brightness turned up?
The knob on the back of the lamp may be set too low.
Still tacky
The lamp is due
Clean face, brightness up, prints still tacky: it has reached the end of its power.
Order
Matched to your series. Send the series and a photo of the lamp on the carriage, with any label on it. A spare lamp can go on the same order as your ink.
Fit
Switch off and let the lamp cool. Disconnect it, remove it from its mount, fit the new lamp in the same position and reconnect. An engineer guides the mount for your series by WhatsApp photos or video.
Confirm
Set the knob, print a test patch and touch its edge once the carriage has passed: dry to the touch. Send a photo of the patch and the knob setting.
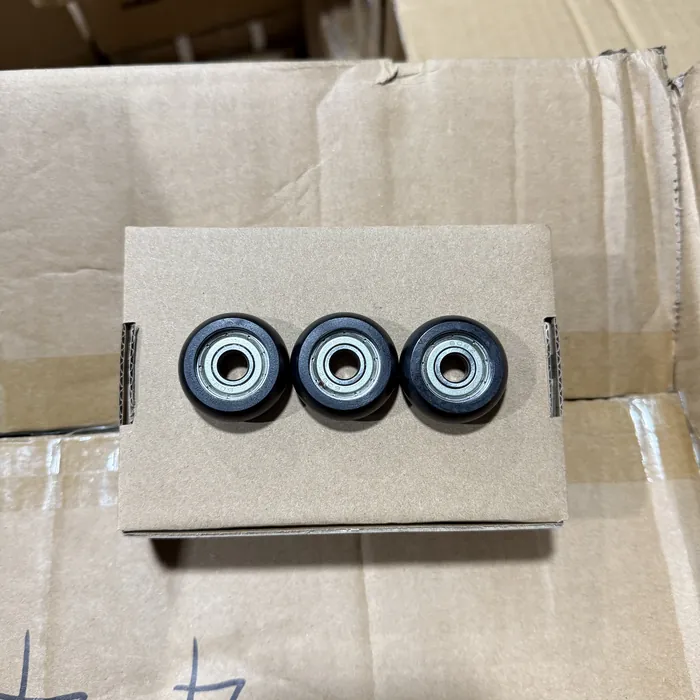
Wheels, black and white
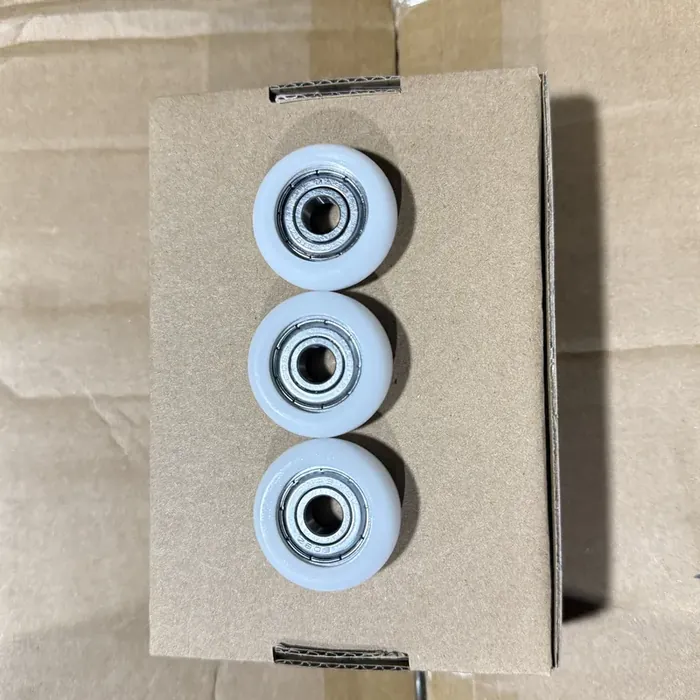
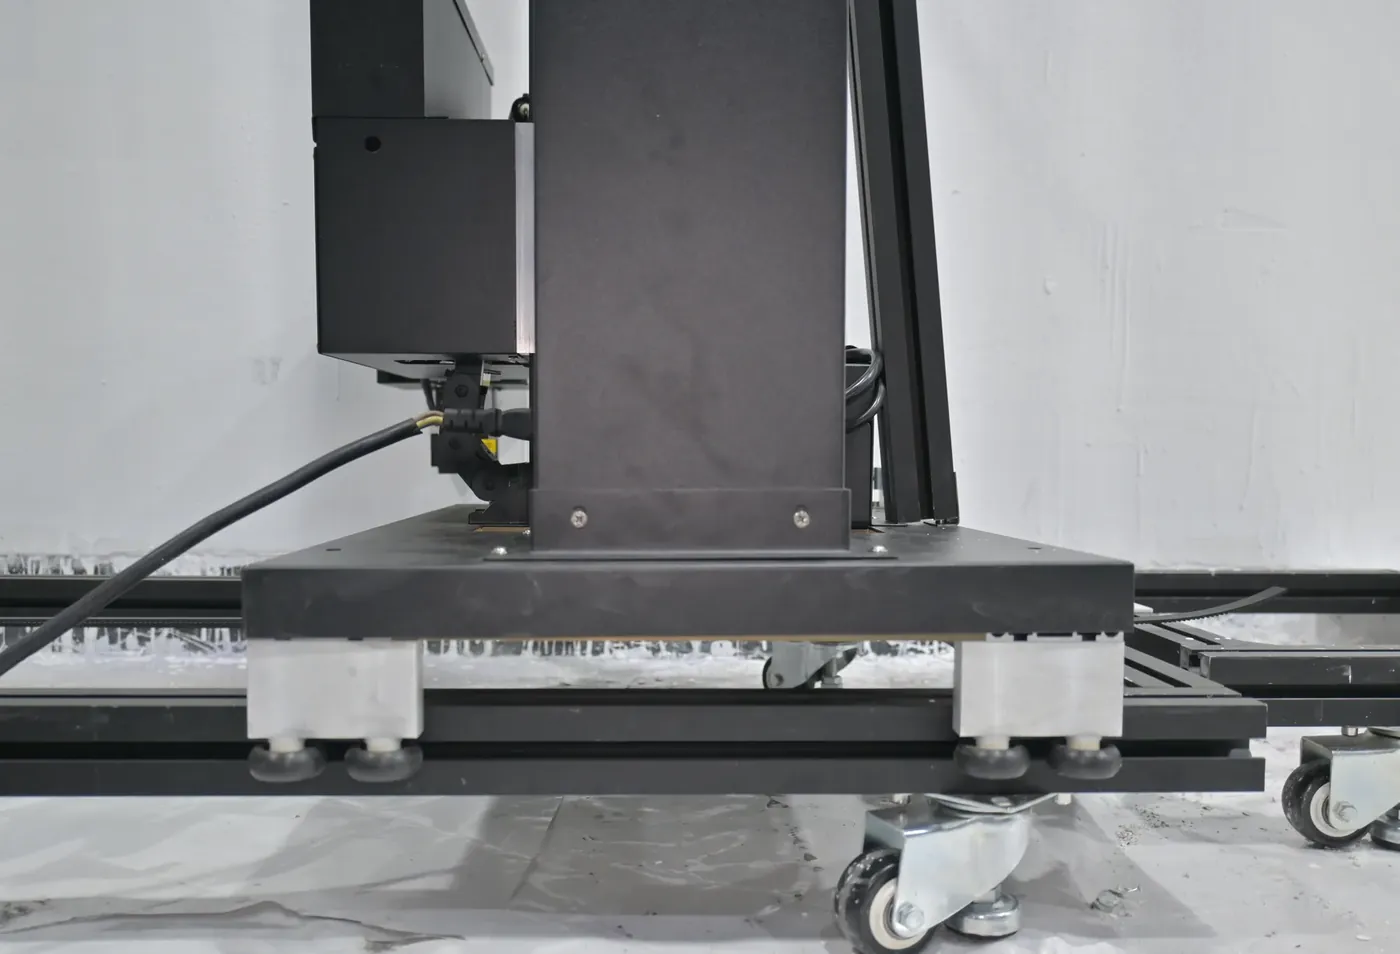
Replaced when worn flat, cracked or loose; a loose wheel shows in the print as lost sharpness. Send the series, wheels or rails, and a photo of the wheel. The GP200 runs its print unit on a guide rail and sliders instead of plastic wheels, which keeps its noise and wheel use down.
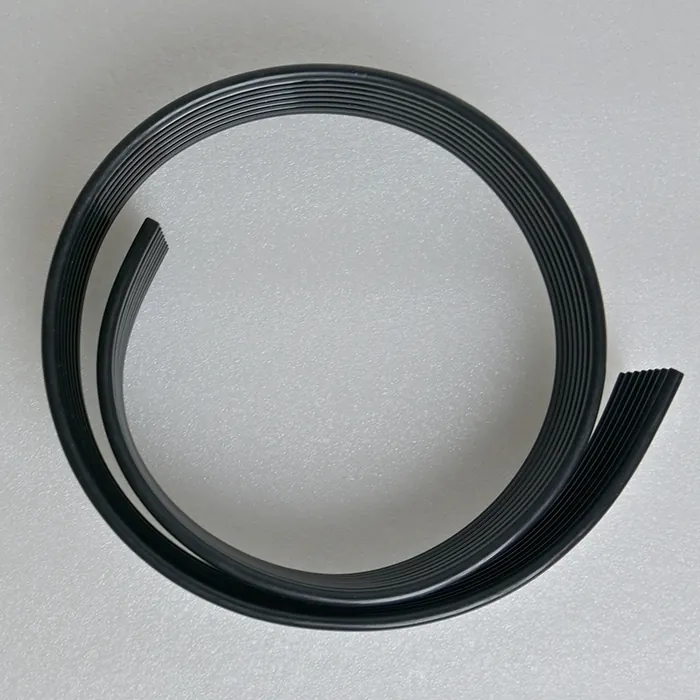
Belts
Replaced when the teeth wear, the edge frays or it no longer holds tension.
GP200B and UP200P floor rails: clamped at each end, through the belt gear as the manual shows.
Slide the print unit along its full travel by hand: smooth, no slack.
Data cables
Fixed at both ends of the drag chain so they cannot move while printing. Order with the series and a photo of both ends.
Casters on the base
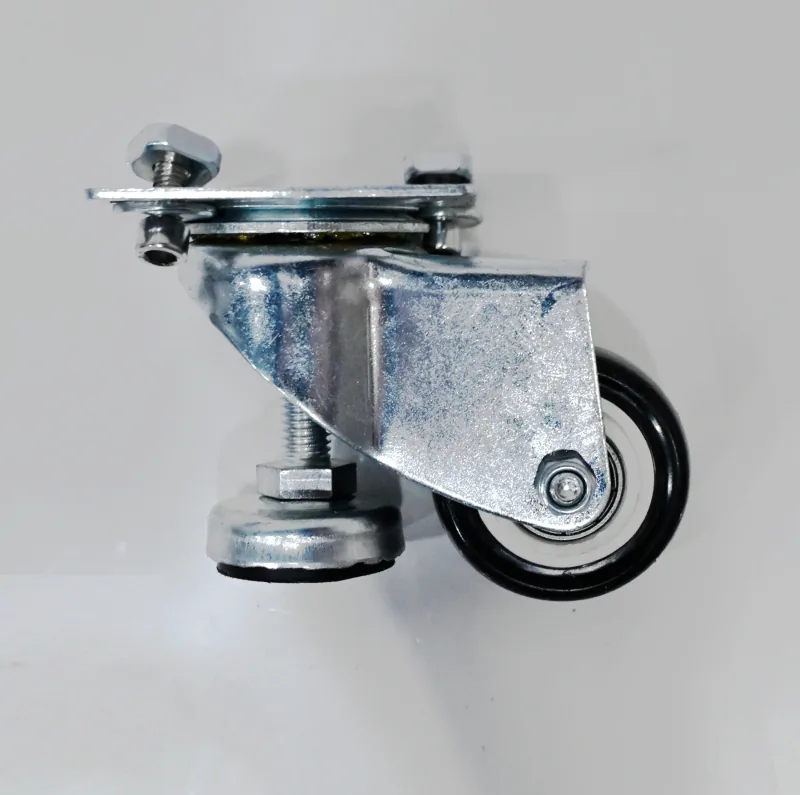
Rail bases carry their own casters and fixings. A photo of yours settles which.
Wheels or rails: the base decides
With the series, the base sets the wheels and the belt on your list.
The part that wore out on the last site, the coating for next week's glass partition or the white ink for a dark café wall all start from one message with five details.
Photo of the partWhere it sits on the machine, or the empty item you are reordering.
SeriesGP200, GP200B, UP200 or UP200P.
Printhead setupDX7, DX10, I1600 or I3200; one or two fitted.
Ink setupCMYK or CMYK + W.
BaseWheels or rails.
The reply is a consumables and parts list for your configuration, with a quotation, set out machine by machine if you send several. Distributors order for customers' machines the same way, and the SGS report and the MSDS come with it when you ask.