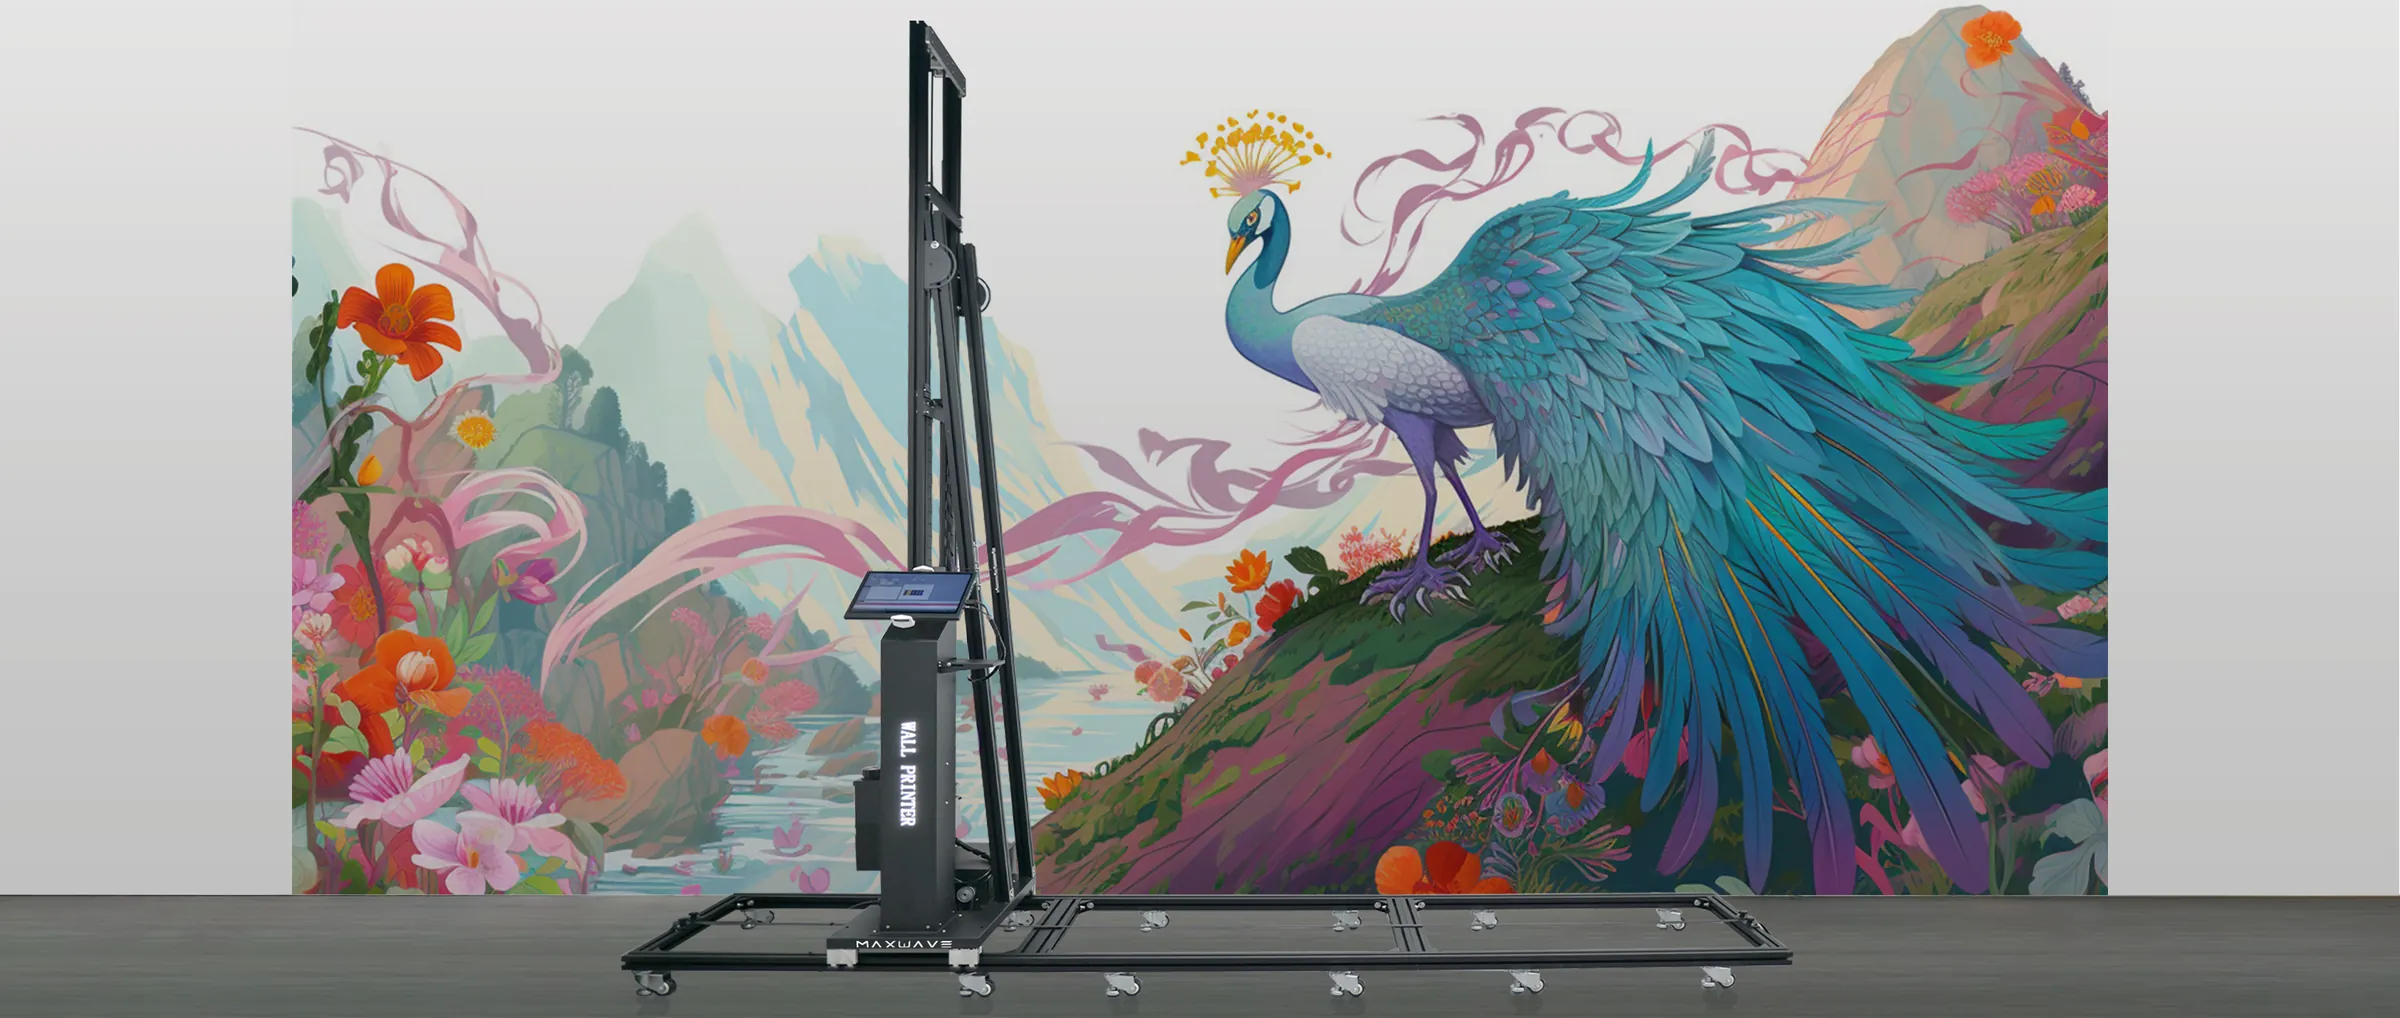
A client just sent you photos of a textured wall and asked for a quote. Before you type a number, stop. Your print head has to glide over that orange peel texture, stucco, or knockdown finish at 2-5mm clearance. It will be a quick yes, a "let's test it" maybe, or a hard pass that saves you a damaged print head and an awkward refund conversation.
Most wall printer regret comes from skipping the five-minute check that shows whether a textured wall printing machine can handle what's in front of it.
This guide gives you that checklist, covering what to measure, what to ask for, and where to draw the line before you quote the job.
Start With the Three Customer Details Needed Before You Quote

A one-line email asking "can you print on my wall?" tells you nothing. Lock down three specific details before giving anyone a price.
1. Exact Surface Specification
Ask for close-up photos taken at a low raking angle rather than straight-on. Raking light casts shadows across the texture, showing its actual depth. You also need the wall material, whether that is drywall, plaster, concrete block, or a popcorn ceiling. The texture and material determine whether your machine can print without dragging across the surface.
2. Measured Texture Depth, Not a Guess
"It's kind of bumpy" is not usable data. Ask for a specific measurement of peak-to-valley depth in millimeters, measured with a caliper or depth gauge. That number confirms whether print head clearance stays within your safe 2-5mm range, or if you risk scraping the nozzle.
3. Delivery Scope and Timeline
Get the square footage, wall location, site access constraints, and the client's deadline. Direct to wall printing requires setup time, drying time, and sometimes primer. Skip these details and you will quote a price that leaves no room for the job's real logistics.
Confirm Print-Head Clearance Before Treating Texture as Printable
Required clearance ≥ fixture stack height + part height + working gap. Skip this formula and you're guessing.
Your print head clears the highest point on the wall. On a stucco surface with a 6mm raised boss and a recessed panel, setting a 1.5mm gap over the boss leaves a 7.5mm gap over the recessed area. Ink spreads, detail disappears, and the client sees it immediately.
Working gap benchmarks:
- 2.0mm: safe production gap, minor edge softening
- 3.0mm: noticeable dot gain, small text under 6pt may fill in
- 4mm+: banding, grain, overspray haze
- 1.5mm: heavily textured wood, slate, or stone crosses into head-strike territory
Check your wall printing machine's spec sheet. Ricoh flatbed units travel 1mm above setup material and demand flat, sanded surfaces. Mutoh's XpertJet 1462UF handles objects up to 150mm thick with automated height detection. Those numbers are not interchangeable. Match your setup to the texture in front of you.
Measure Overall Flatness With a Repeatable Site Method
A single depth reading at eye level tells you very little. Walls warp and bow, dipping near corners and bulging near studs. One isolated reading gives you bad data disguised as a baseline.
Borrow the logic from concrete flatness testing (ASTM E1155) and scale it down for walls. That standard measures slabs using overall flatness (F_F) and levelness (F_L) numbers pulled from continuous elevation data. You do not need lab equipment, but you need the same discipline of multiple runs, consistent spacing, and repeatable results.
Here's the field version:
Mark a grid. Divide the wall into sections 2-3 ft apart, running both horizontal and vertical lines.
Measure each line with a straightedge and feeler gauge. A 4-ft level with a depth gauge works fine for most jobs.
Record every reading across the wall. One deep valley hiding among flat sections will still catch your print head.
Flag deficient zones separately. A wall that averages 2mm deviation but spikes to 6mm near one window frame is a 6mm problem.
Skip relying on a single straightedge check on its own. Placement changes the result every time you move the tool, making it a diagnostic check rather than a final answer.
Log the date, tool used, grid layout, and every section's numbers. That record gives you proof if a client disputes print quality later, and backup when you need to explain why a quote changed after the walkthrough.
Measure Texture Depth at the Worst Points, Not the Average Points

A 2mm average means nothing if one spot hits 6mm. Your print head will strike that single deep pocket, regardless of the average reading you wrote on the quote.
Averages hide surface hazards. A wall with mostly 1.5mm texture and one 5mm gouge near a corner still reports a safe 2mm average on paper. A textured wall printing machine must clear that deepest point, whatever the average says.
Sample Enough Points to Catch the Outlier
Don't rely on three readings. For any wall section about 1 meter across, take at least eight separate measurements, each covering 100mm of surface. Space your readings at consistent intervals rather than clustering them near the middle. If the texture is periodic, like tiling grout lines or repeated knockdown patterns, cover at least ten full repeats of that pattern before calling the sample complete.
Record Both Extremes, Not Just the Mean
For every zone you test, log four numbers:
Minimum depth (shallowest point)
Maximum depth (deepest point)
Mean depth
Location of each extreme
Concrete pavement crews follow this standard: contractors check texture depth several times a day and flag any reading outside the allowed range, even when the overall average passes. Apply that same discipline here. A wall passes only when the average is in range and every individual reading stays within your 2-5mm clearance band. If you find even one rogue deep pit anywhere on the surface, investigate before you commit to printing.
Classify Orange Peel, Stucco, Brick, and Other Textures Before Pricing
Not every texture deserves the same quote. Orange peel, knockdown, stucco, and brick each involve different risks, labor requirements, and invoice totals. Lump them together and you'll either underprice a nightmare job or scare off an easy client.
Orange peel texture printing is your green light. The spray pattern can be fine or coarse, but shallow peaks give you forgiving print clearance. A new application runs $0.80–$1.50/sq. ft. installed, while retexturing over old material runs $1.80–$3.80/sq. ft. If a patch needs matching first, 20 oz. aerosol repair cans ($20–$25) handle small touch-ups before you print.
Knockdown texture wall printer jobs need a test pass. The flattened ridges look mild, but irregular spacing requires extra labor to match the pattern. Price this higher than orange peel, staying within that $0.80–$1.50/sq. ft. range for sprayed work, or charging $1.50–$2.00/sq. ft. for hand-applied knockdown.
Popcorn ceiling wall printer compatibility requires individual inspection. Popcorn is coarse and deep, which often means scraping and disposal before you can do anything else. Material alone sits at $0.10–$0.30/sq. ft., but bill removal, patching, and hazardous-material testing as separate line items before your nozzle touches the surface.
Stucco wall UV printing sits in its own category, completely separate from drywall. Cosmetic cracks and shallow patches land at $8–$20/sq. ft., while moisture or sheathing damage pushes the rate to $30–$50/sq. ft. Set a $500 minimum for small jobs.
Brick is a hard pass as standard texture work. Repoint mortar, replace broken brick, and quote cleaning and scaffold costs separately. If the client wants a faux brick finish instead of real masonry, treat it as hand-applied decorative texture at the $1.50–$2.00/sq. ft. benchmark.
Check Wall Material, Stability, and Ink Adhesion Before Printing
Texture tells you if the print head will survive contact, while the substrate determines whether the ink will stick. Start by identifying the material, whether it is painted drywall, plaster, concrete, brick, wood, or vinyl wallcovering. Direct UV wall printing demands a smooth, primed, dust-free surface that can bear the load. Even if the wall measures completely flat, issues like chalking, moisture, loose paint, or leftover adhesive will make the ink fail.
Run a tape test before committing to the job. Press masking tape down in several spots and pull it off fast. If you see dust, paint flakes, or wall fibers on the adhesive, the surface lacks cohesion. Walk away from any wall that flexes, blisters, or continually sheds particles.
If you are printing over wallcoverings, test dimensional stability against the 0.5% shrinkage benchmark (EN 233 / IS 15418) in both directions. On a 10m run, the material should shift no more than 50mm.
Before giving a quote, print a 500×500mm test patch on the darkest, heaviest ink section of the artwork. Follow up with an ASTM D3359-style cross-hatch adhesion test by cutting a grid, applying tape, and pulling it back at 180°. A rating of 5B shows zero ink loss and is clear for production. A 4B rating, representing under 5% loss, works fine for interior walls. Stop and reprep the surface if you see 3B or worse.
Make the Five-Minute Accept, Test, or Reject Decision
Here's where all that measuring pays off. You've got your numbers. Now turn them into a verdict, fast.
Run every job through this filter:
Decision | Use when | What you log |
|---|---|---|
Accept | Every reading falls inside your 2-5mm clearance, the tape test passes, and adhesion hits 4B or 5B | Depth readings, photos, client specs, quoted price |
Test | One zone runs borderline, texture is periodic but unverified, or the material is unfamiliar | Test patch result, specific risk zone, go/no-go trigger |
Reject | Any point exceeds 6mm, the surface sheds on tape, or adhesion drops to 3B | Failed measurement, reason, refund terms if deposit was taken |
A single rogue reading outside your range overrides a good average every time. Don't talk yourself past it.
Write one line before you quote: "Accept/Test/Reject [wall ID] because [measurement] meets/fails [criterion], effective [date], confirmed by [your name]." That sentence becomes your paper trail when a client questions the quote six weeks later.
If a critical number comes back borderline, test. Never accept on a gut feeling about wall surface preparation for printing.
Put Texture Limitations and Preparation Responsibilities in the Quote
Putting "textured wall, matte finish" on a quote is a lawsuit waiting to happen. Vague words like "smooth" or "uniform texture" give you nothing to point to when a client disputes the result six weeks later.
Replace those words with numbers. Your quote should read:
Texture: [orange peel/knockdown/stucco], applied to [named wall]. Acceptable variation: [X mm] or within approved master sample range. Texture on edges, corners, and inaccessible areas may vary unless separately specified.
Mark cosmetic zones. Not every square foot gets the same scrutiny. Define:
- Primary visible surfaces (full inspection)
- Secondary surfaces (looser tolerance)
- Masked or excluded areas (no inspection)
State preparation duties line by line. Clarify whether your price covers surface cleaning, patching, and sanding:
Price assumes a production-ready wall with debris, loose paint, and contamination removed by the client. Additional surface correction is billed separately unless listed above.
Separate confirmed facts from guesses. If you tested one zone and estimated the rest, say so. List confirmed depth readings, test results, and unknowns as distinct categories.
Add a change-order trigger:
Any change to texture, substrate, or inspection method after quoting may adjust price, lead time, and minimum order. Written approval required before proceeding.
Show the Cost of Skipping Texture Inspection Through Job-Risk Scenarios

Other industries already paid for this lesson, and the invoices are brutal. Road crews learned that when pavement texture dips below 1.0mm, crash risk climbs fast, with the real danger zone sitting around 0.6-0.8mm. Skip the texture check, and you end up resurfacing a lane at roughly $20,000 per mile, plus handling the liability from a wet-season crash nobody saw coming.
Coating crews tell a similar story. Adhesion failures tied to skipped roughness checks never stay small. In one automotive case, surface defects slipped past inspection and traveled all the way through painting, assembly, and shipping, driving $3-8 million a year in scrap and rework before anyone caught them.
The pattern holds for your textured wall printing machine. Skip the depth check on stucco or knockdown, and you risk a wrecked print head, a refund fight, and a client who tells three other contractors what happened. A five-minute inspection costs nothing compared to the rework that follows.
Conclusion
A wall printer can print on textured walls, but running a job without checking the surface leads straight to botched work and blown print heads. Before you quote, measure clearance against your print head's tolerance, depth at the worst points, and material stability under ink. With those three numbers, deciding whether to accept, test, or reject takes five minutes.
Next time a textured wall inquiry lands in your inbox, don't quote off a photo and a hope. Pull out the checklist, ask for the depth data, and put your findings in writing before you commit equipment to a wall that might fight back.